
Competing in Freefly B
By Ally Milne
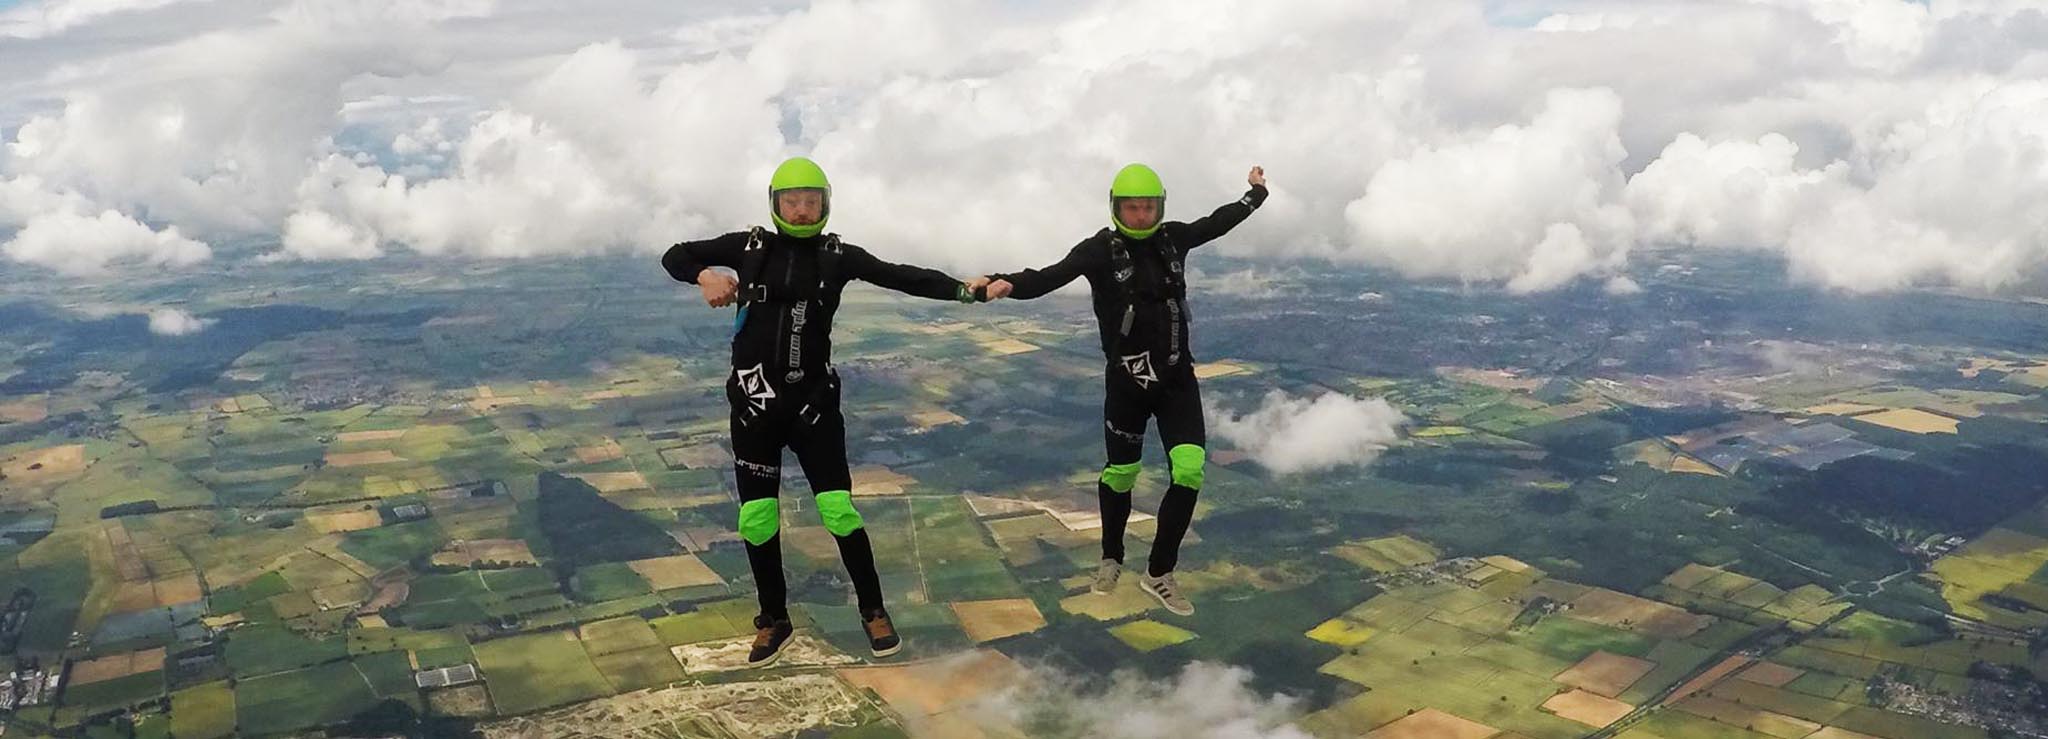
Many people start Freeflying because they are looking for challenge, and to push themselves by learning how to fly their body in a variety of new and exciting ways. Once we have been freeflying a while it can sometimes be easy to get stuck and fall into the trap of just doing the same sitfly jumps. We are going to look at the British Skydiving Freefly B category of competing at the UK Nationals, as maybe you can find some inspiration for moves to attempt on your next 2 or 3 way Freefly jumps. Most countries have a non head down level of competition, but if they don't maybe think about coming over to Britain and trying it as out as guest team. Not everyone feels the drive to compete or train, but most free fliers like the thrill of trying something new and exciting, as that's generally why we all ended up in this fantastic discipline. The article aims to give you some helpful tips and pointers for trying out and creating some Freefly sequences.
Nationals
Freefly B at British Nationals consists of 5 rounds. 3 Free routine (Jumps 1,3 and 5) and 2 Compulsory (Jumps 2 and 4). The free routine you are free to chose whatever you wish, and each compulsory round has a list of 3 moves that can be performed in any order.
Free Routine
The free routine is 3 rounds, and it makes sense when competing to make the same jump 3 times, else you will have to train 3 separate jumps! For funs jumps we can do whatever we want that’s the beauty of Freeflying. When planning a free routine try and include as many different elements of body flight as you can train for, including but not limited to sitfly, kneefly, splits, stand, backfly, tracking, transitions and belly. Routines that only have one position (e.g. sit flying the whole jump) are likely not going to score well. Remember when you design the routine you are trying to make the moves look artistic, turning points whilst technically difficulty does not look great, unless part of a synchronised sequence. The smoother you can get each component to glide from one to the next the better it will look and score.
When trying elements of a free routine try out as many different things and see what works for your team, getting some ideas or coach input early on from your video footage can make a massive difference to how it all fits together. When making a sequence its important to watch if you are going to make any transitions to a different fall rate, that no one is above or below you, and these part of a sequence are best left to 2/3 ways that have trained together. The break off is also part of the free routine so there are plenty of fun ideas to train in that aspect. Both performers back tracking side by side past the camera flyer and out of shot is a great start.
Compulsory Routine
Each compulsory routine you get to choose the order they are performed, so you can sort them according to what works best for your team. You only perform the sequence once, it's not a race to see how many times you can get through it, and you can plan the links between the moves so that the end of one sets you up for another, and adding your own little ideas in-between for the highest scores. You may even choose to do the same exit for all the jumps if you can get it to fit correctly. Below I'm going to talk about each one of the compulsory moves and give a few tips on how to perform.
Camera Flying
When flying either for fun or for training having an external camera flyer can show everything that’s going on, as especially when training new moves it may be difficult to assess and decide what action must be taken to improve. The camera flyer should be someone you trust and at least as good as the performers, as at times they may not be in your line of sight and should have the ability to dodge the team if any moves don't go to plan!
Each of the compulsory moves has a camera requirement, so the camera flyer isn't just orbiting around the outside in the middle to far distance, but an integral part of the team that also needs to train. They need to be included in the break off plan so everybody knows who is tracking, where they are tracking and if the camera flyer tracks or pulls in place.
1st Compulsory Round (Jump 2)
FFB-1 Synchronised front loop
- - At the beginning, both Performers are side-by-side in a sit position, facing the camera.
- - Performers must always be unlinked during the sequence.
- - Both Performers simultaneously perform one (1) synchronized Front loop.
- - Performers end up in original positions, maintaining level with each other during the front loop.
- - Videographer must show the front of the Performers at the beginning, on the same level, stay on level and remain in place.
Syncro moves are all about timing. Choose who makes a key and then both performers make the move take the same amount of time. You maybe find that your partner loops faster or slower than you, so making sure you adjust to a common speed is going to make the move look better. Once the key is given keep eye contact throughout the move but ensure when looking you move your head independently of the shoulders that remain facing the direction of the body. You may find when watching your partner is rotating slightly faster or slower and you may need to alter your rotation speed to match. The more practice you get the more consistent the timing will be.
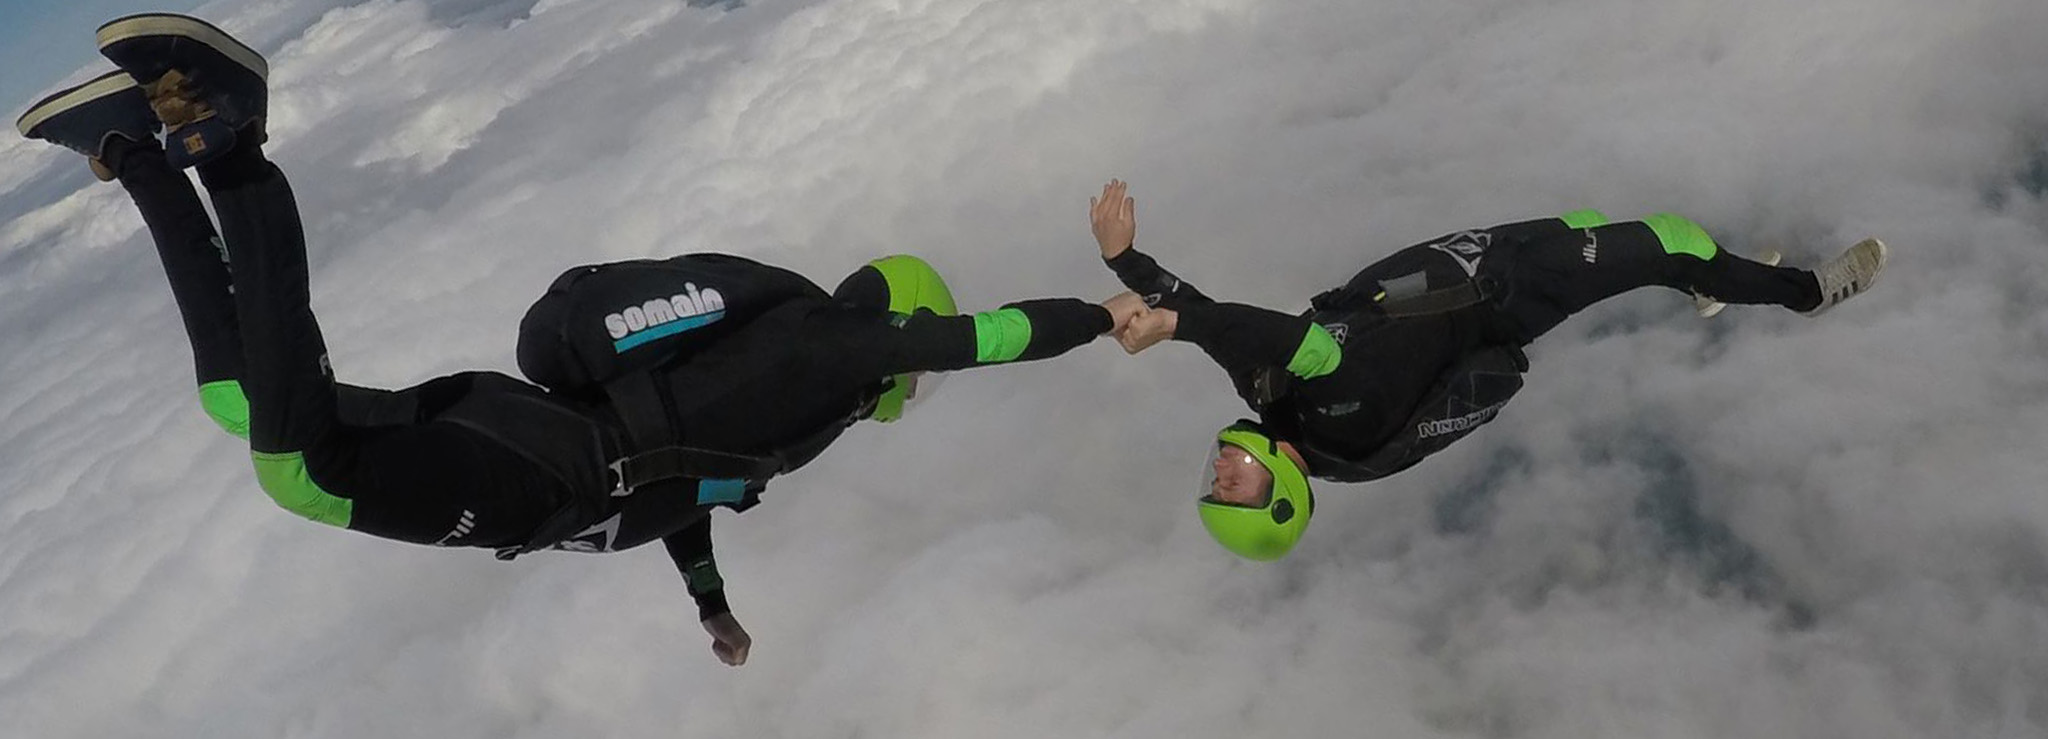
FFB-2 Head-Up Grip Turns
- - At the beginning, both Performers are face-to-face in a head-up orientation (sit position allowed).
- - A hand-to-hand grip is taken (left-to-right hand or right-to-left hand).
- - After grip release, both performers simultaneously perform a 360º pirouette while remaining on the same level and retake the same grip.
- - Videographer must show the side of the Performers at the beginning, on the same level, stay on level and remain in place
Picking up grips is one of the more challenging skills to master whilst sit flying, and this is normally due to poor discipline. The first step is to be on level, and then be parked stationary in your slot. Close enough that you are pretty much knee to knee. Then picking up the grips whilst keeping your shoulders square and resisting the temptation to twist your spine. Picking up the grips is the reward of performing these steps with good discipline. When free fliers start out its better to do several practice jumps moving on level and forward till you are knees to knees, taking it in turns for who does the moving and who is base. If you cannot move forward and stop consistently then this can be a focus of your training before trying this compulsory move. When picking up grips decide who is presenting and who is picking up and which way the hands are going to be to make that happen. Whoever is presenting will need to hold the hand out for a second or so while the grip is getting picked up and you should ensure that the grip isn't picked up like an out of control snatch, but picked up smoothly and held long enough to show control.
FFB-3 Head-Up carve
- - At the beginning, both Performers are face-to-face in a head-up orientation (sit position allowed).
- - Both Performers start carving around an imaginary centre between them.
- - Both Performers must carve 360º, ending where they began.
- - The Performers must maintain the same distance from each other and remain facing one another during the sequence.
- - Videographer must show the side of the Performers at the beginning and end, stay on level and remain in place.
A carving move is a dynamic move that consists of a forward movement and a turn. This move is alot easier in the tunnel than the sky, as in the air you have a rig detuning any inputs on the back of the body that are required for the necessary forward drive. A will fitted rig will help here massively, and people that have rigs that don't fit them correctly will struggle. You will need to make a much more positive forward drive input in the air compared to the tunnel. Also, there is a lot more space in free fall to spread out and no tunnel wall references to keep you tight together, so it can be easy to end up a lot further away from each other. Moving forward with one leg down (stag position) is an easier way to generate forward drive, though initially the position will be requiring some practice. The closer you are, the smaller and quicker the move can be performed. Also, by setting up the move closer to each other it will be easier to transition onto the next part of the sequence.
2nd Compulsory Round (Jump 4)
FFB-4 Cat Barrel Roll
- - Both Performers are in belly-down orientation.
- - One Performer has grips on the lower legs of the other Performer, the right hand on the right lower leg and the left hand on the left lower leg.
- - The upper legs should be in line with the torso.
- - Both Performers simultaneously perform one (1) full barrel roll along the same axis, maintaining the same heading.
- - The barrel rolling can be in either direction.
- - Videographer must show the side of the Performers at the beginning and end, stay on level and remain in place.
The cat barrel roll is often the move considered to the be the easiest by people who have never tried it but is often the nemesis of many team from Freefly B to the highest level. To have full control of your body you must be able to fly in any axis including belly. This move sets lends itself to be completed very early on the jump shortly after exit, as flying vertical and then transitioning to belly is harder to judge the changes of fall rates. Launching the 2-way piece saves having to build the formation in the air. The rear person on the cat, lets the front person know via a shake they are ready for the barrel roll. The front person initiates the barrel roll with the back person concentrating on matching the rotation while looking straight down the spine the front person. It helps to have the front person looking forward to a fixed point on the horizon with their arms fully extended to prevent the 2-person piece nose diving in the barrel roll. This move then works very well with the Angle Flying sequence directly after wards, as both fliers are set up on the belly already. If you struggle with this move, a good training dive is to have the performers unlinked facing toward each other with a slight offset and then on a key making the transition either together or one at a time.
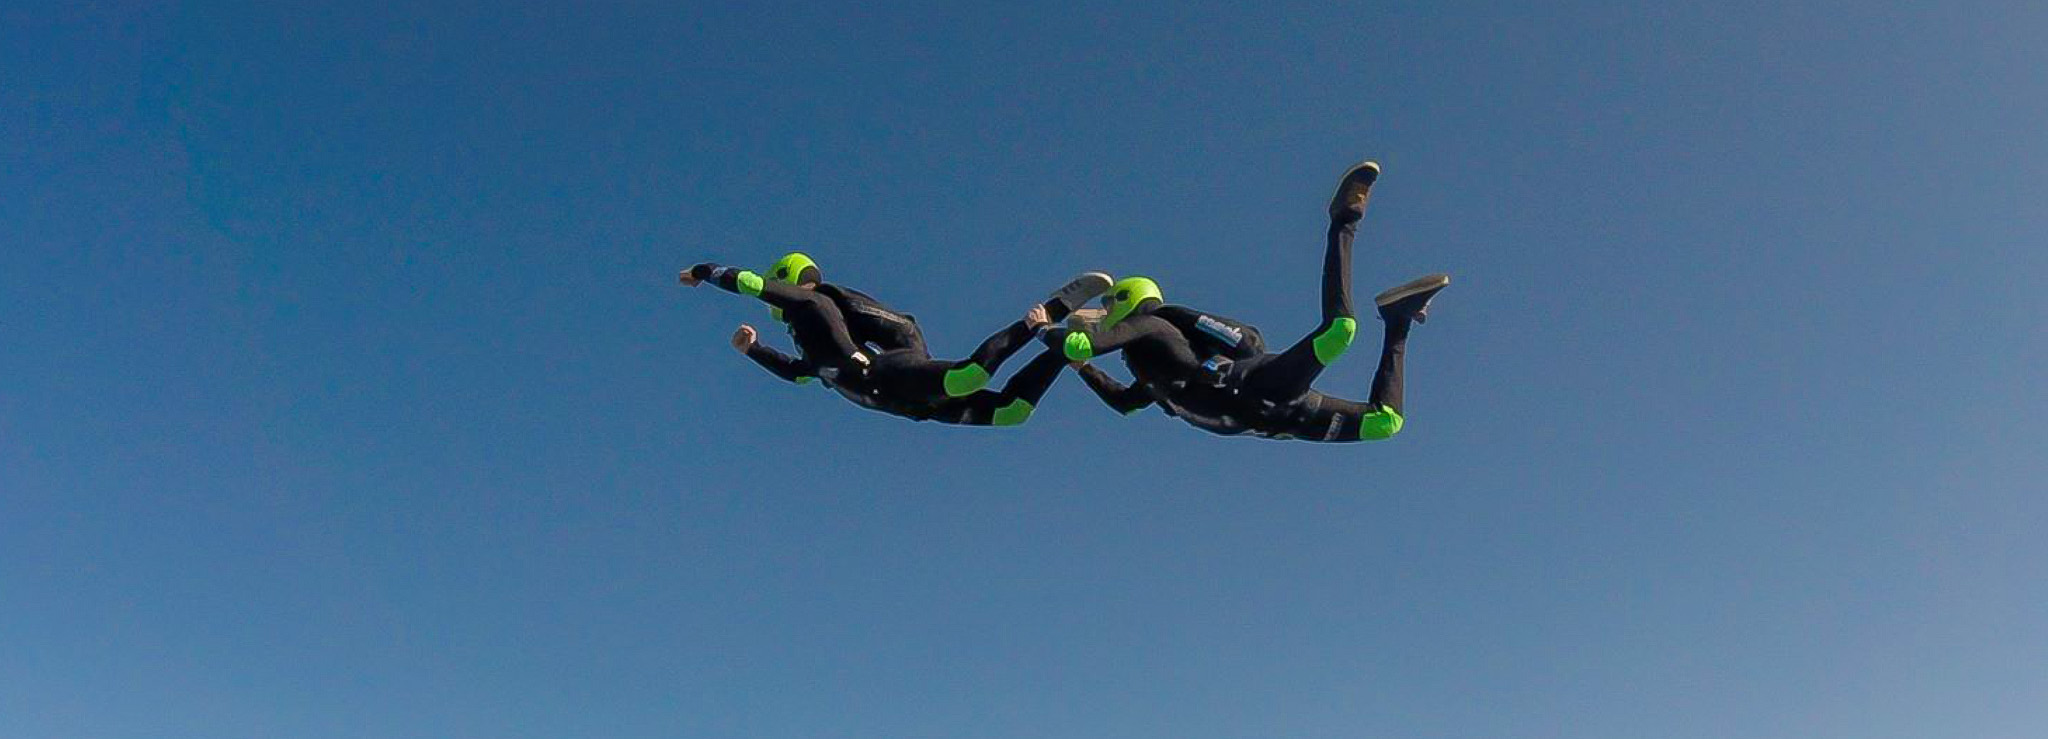
FFB-5 Angle Flying
- - THIS COMPULSORY SEQUENCE MUST NOT BE THE FIRST ONE PERFORMED!
- - When this Compulsory Sequence is performed first in the compulsory routine, the maximum score will be three (3).
- - Both Performers are in an approximately 45º diagonal orientation with their heads low.
- - At the beginning, both Performers are facing downwards (belly-to-earth), in a layout position, without any significant bend at the waist.
- - Performers take a hand-to-hand grip (left-to-right hand or right-to-left hand).
- - Performers fly in a forward direction, in an approximately 45º diagonal orientation with their heads low, maintaining hand grip.
- - This angle flying must be maintained for a minimum of 3 seconds.
- - Videographer must show the Performers and the hand grip during the whole of the sequence, from above or below, whichever position they prefer.
The Angle Sequence you can pick up the grip and smoothly move into the track or start the track and then pick the grip up. The former may be work out to be easier for you. Flying with tracking grips will be easier with wider arms to take off some speed, you may get pulled if the timing of the acceleration into the track isn't synchronised. Once you've flown the grip for an amount of time you can then add some tracking barrel rolls, over and under of have someone back track for extra artistic points. Ensure you are tracking way from the line of flight. Then following this move with a transition from tracking to vertical to finish the final move of the compulsory dive.
FFB-6 Head-Up Full Eagle
- - At the beginning, both Performers are face-to-face in a head-up orientation (sit position allowed).
- - One performer moves over the top of the other performer, who simultaneously moves under the other.
- - As each performer passes under/over the other performer each performs a 180º turn.
- - (Performers will have effectively swapped positions).
- - After a momentary stop, each performer then repeats the sequence with the performer who moved over in the first move going under on the second move.
- - Performers must move in a controlled manner and at the same time.
- - Videographer must show the side of the Performers at the beginning and end, stay on level and remain in place. (The performers will end in the same positions they started from.)
This is another move that is easier in the tunnel. The trick is to make the move only just enough to go over the other flyer, and only just past them. It can be too easy to overdo the inputs in the excitement of it all, especially if it's the last move and you know there isn't long till break off. Throughout the move ensure you have eye contact with your partner.
Training
Now you might find it fun to try a whole free routine or compulsory dive from start. However, if skill improvement is your aim, then it's better to start by trying just one or two new components per jump, focusing on doing them as best you can. Multiple repetitions of a skill in freefall in the same jump mean that if you mess up the first one then you get another go right way! Rather than having to wait to land, pack, debrief, brief, manifest, weather hold, 20 mins call then ride up the altitude before getting another shot. Tunnel training is invaluable and having a coach that is experienced in both helps with the taking the tunnel skills into the sky. Having a coach as well as developing your skills, actually can make it easier it removes the mental load of planning the training and means you have an impartial person for viewing what needs to be fixed and how to fix it. People are generally the worst at seeing their own errors!
People are also often very quick to jump into calling themselves a team, often having a name chosen, a secret handshake, a Facebook page, telling everyone in the bar and printed T shirts jumpsuits planned before realising they all want different things. A good idea is just run with a rough plan of making some small FF jumps and seeing who shows up consistently. Lots of people like the idea of being in a team rather than what you need to be in a team. People who are willing to put in the same amounts of time, effort and money for a similar goal work together with the least friction.
Hopefully this article has given you some ideas to try some new moves or inspired you to take the first steps to making or training like a Freefly team. The best thing is about Freeflying is you are always learning something new, and it's in that process you can always find a challenge.
Do you have a question about this article or a question for Ally himself?
If you have any worries, questions or want further knowledge or training then feel free to contact me anytime on Facebook or Instagram (allymilne1). When coaching or load organising I always look to give my students, not only freefall tuition but help expand their equipment knowledge and give canopy tips to improve their safety and help progression.
Ally is available for: Tunnel coaching, Sky coaching, Canopy coaching, load organising, BPA coach rating instruction, public / private parachute displays and media projects.
Ally is proudly sponsored by: Vertex Sky Sports, United Parachute Technologies, Performance Designs, Airtec, Larsen and Brusgaard and Cookie Composites.